Campaign Setup & Settings
A campaign is the container everything else lives in: the players, their rosters, the stages, the battles and the leaderboard. Create one and your group has a single place that agrees with itself.
What you can host depends on your tier. Free gives you 1 campaign for up to 4 players, Supporter 3 campaigns for 8 each, and Commander 10 campaigns for 50 each.
Campaign Administration Lifecycle
Step 1: Creating a Campaign
Creating a campaign asks for very little. Create Crusade, in the sidebar or under Quick Actions on your Dashboard, opens a setup wizard. Its first step needs a Campaign name, with the Edition beside it (11th unless you pick 10th) and the Supply limit per roster below it (default 1,000, which can be raised later but never lowered). Those two are on the first step because your group has to agree them before anyone builds a list. Customise (optional) holds the rest, all of which can wait: a Brief description, the Campaign Chronicle your players read when they join and, on Supporter and Commander, a Campaign Cover Banner.
The wizard then offers a first stage, your own roster and an invite link. The roster step names the campaign's edition, so you export a list that will import. The Campaign Host Quickstart walks through it.
The wizard does not ask about starting Requisition Points or a player cap. A new campaign gives each player 5 Requisition Points to start and takes as many players as your tier allows. Change either on Edit Campaign, below, which is also where you fix the edition if you picked the wrong one. Do that before players import their lists, because a campaign turns away an army list exported for the other edition.
Edit Campaign
Open the campaign menu (Campaign Options, the ⋮ button, which only the host sees) and choose Edit Campaign.
- Campaign Banner Image: a wide image across the top of the campaign, on Supporter and Commander.
- Campaign Name: what your group will see (e.g. The Siege of Baal).
- Description: the premise, in as much or as little detail as you want.
- Ruleset Edition: 10th or 11th, and a new campaign starts on 11th. This is more than a label. 11th Edition unlocks multi-detachment forces, Detachment Points and Force Dispositions for every player in the campaign, and an imported NewRecruit or BattleScribe list has to come from the same edition as the campaign. See Detachment Rules.
- Starting Supply Limit (Points): the point allowance each force begins with. Defaults to
1,000. Raising it later adds the difference to every roster already in the campaign. It cannot be lowered once the campaign exists. - Starting Requisition Points: what each new roster starts with. Defaults to
5. Changing it later does not touch rosters that already exist. - Max Participants (optional): caps the campaign below your tier's ceiling, if you want a smaller game than you are entitled to.
The Campaign Chronicle is not on this page. Edit it where it is shown, on the campaign Overview.
Custom Rules & Toggles (COMING SOON)
The last section of Edit Campaign, Custom Rules & Toggles, is marked Coming Soon. It is not available yet and is not part of any plan. Its six switches (Enable Agendas, Enable Relics, Enable Battle Scars, Enable Ranks & XP, Enable RP Logs and Enable Strategic Assets) are greyed out and cannot be changed. Agendas and Relics show as on and the other four as off, but none of them changes anything: Agendas, Relics, Battle Scars, ranks and XP, and the Requisition log all work in every campaign. There is no way yet to switch a Crusade system off for your group.
Standings
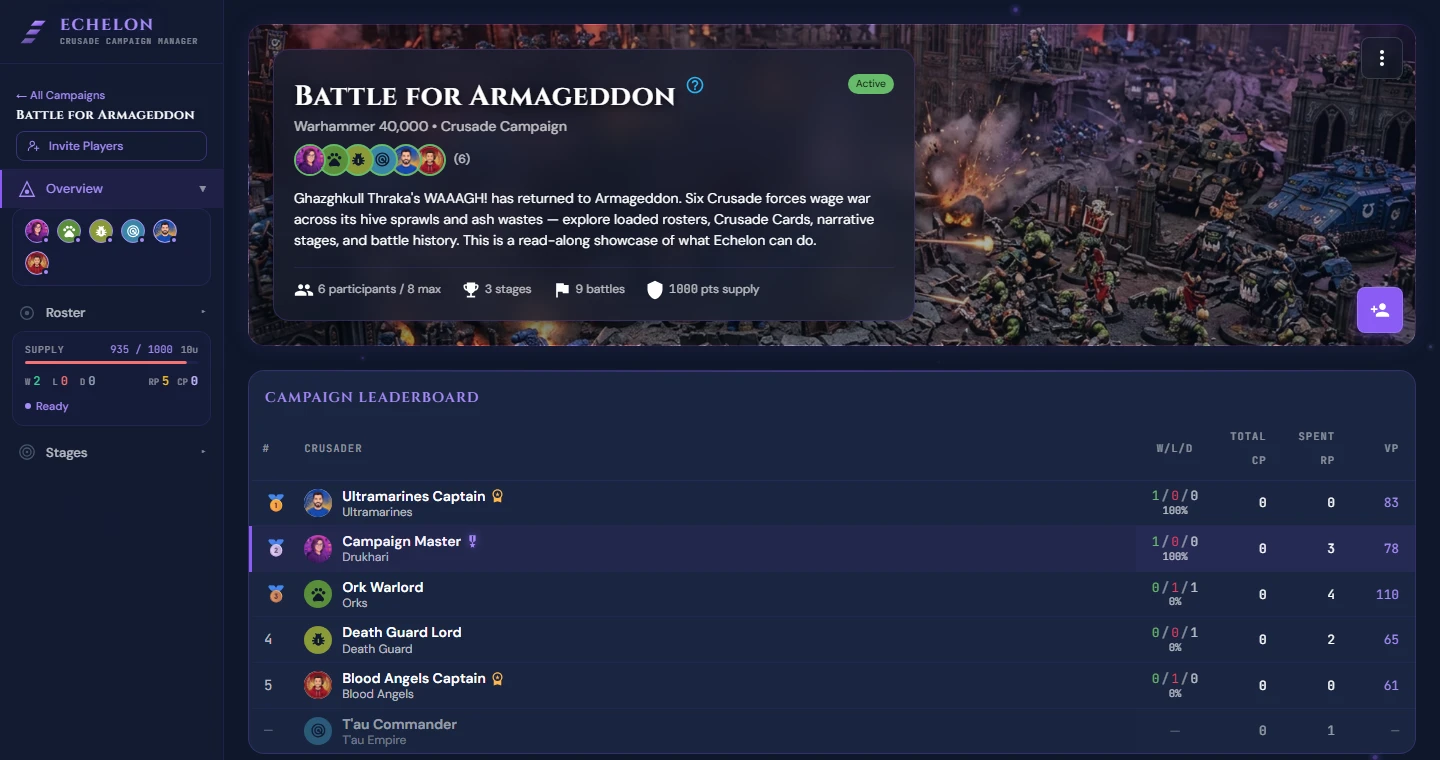
Standings rank players by wins, then by win rate, with total victory points breaking a tie. A player who has not yet played is listed but not ranked. There is no ranking formula to choose.
Step 2: Reviewing Battles
Open any battle from the Stages page. A finished battle shows each player's result and victory points, split into primary and secondary, and their kills. Under each player is every unit they brought, with its kills, whether it died and whether it was Marked for Greatness. Round-by-round scores are on screen only while the game is being played, and Agenda completions go into each player's own post-battle report rather than onto the battle page.
What a host can change is the battle's framing, not its outcome, and only until the battle is completed. Edit battle on the battle page changes the name, mission, date, location, stage and Battle Narrative. Once the battle is completed, the pre-battle and post-battle narratives are the only parts anyone can still write. Each player enters their own victory points while the battle is in progress, and files one post-battle report. Plan for that rather than expecting to correct a score later.
Archiving & Deleting Campaigns
Finishing a Campaign
When the story is over, open the campaign menu and choose Complete Campaign. The option appears once the campaign has started, not while it is still in planning. A completed campaign is read-only for everyone, and it stops counting against the number of campaigns you can host.
There is no Archive button. Archiving happens on its own, a set time after a campaign is completed, and how long depends on the host's tier: 7 days on Free, 30 on Supporter, never on Commander. It is a filing change rather than a restriction, since a completed campaign is already read-only. Archived campaigns are kept permanently. See Plans and Billing.
Deleting a Campaign
- Open the campaign menu and choose Delete Campaign.
- Confirm with Delete. Nothing else is asked for, so read the dialog before you click it.
Data Loss Risk
Deleting a campaign permanently removes every player's roster and Crusade Cards along with its stages, standings and battle history, for every participant and not just you. Completing a campaign preserves all of it, so delete only a campaign that should never have existed.
Narrative Tools on the Overview
Below the Campaign Chronicle the overview carries two panels, side by side on a wide screen.
Story Beats are the turning points of the campaign: what has to happen, and what already has. Host-authored, readable by everyone.
Missions are extra objectives the host hands to particular players, each with a reward and, if the host wants one, a penalty for failing. You see the ones given to you; the host sees them all.